How to deploy Amazon RDS MySQL Database
-
 Chinthaka Dinadasa
 - 07 Jul, 2023
Amazon RDS (Relational Database Service) offers a fully managed database service that simplifies the setup, operation, and scaling of relational databases in the cloud.
With Amazon RDS, businesses can leverage AWS infrastructure while focusing on innovation, rather than database management complexities.
Furthermore, Amazon RDS offers a host of features that enhance database performance, security, and availability. With automated backups, point-in-time recovery, and automated software patching, businesses can ensure that their data remains protected and accessible.
This article explores the deployment process, engine options, configurations, and best practices for optimizing performance and security.
Database Requirement
The application that we are going to deploy with this article series is depending on the MySQL database.
Hence we need to create a MySQL database, and RDS allows us to have a MySQL database with the following engines,
-
Aurora - MySQL compatible
-
MySQL - We are using the MySQL database for this article series.
-
MariaDB - MariaDB is a backward-compatible improved version of MySQL.
Database Deployment
Now, let’s focus on deploying the MySQL database with Amazon RDS. We are going to keep our database layer on the private subnet as per the architecture we have discussed on Deploying Spring Boot Applications With AWS ECS Fargate.
Creating Subnet Group
Normally RDS allows us to create a subnet group or create a subnet group while creating the RDS database.
But since we have a requirement on deploying our RDS database only on a private subnet, we should first define our subnet group by only attaching private subnets in both availability zones.
First, navigate to the subnet group under RDS in the AWS dashboard, then press Create subnet group.
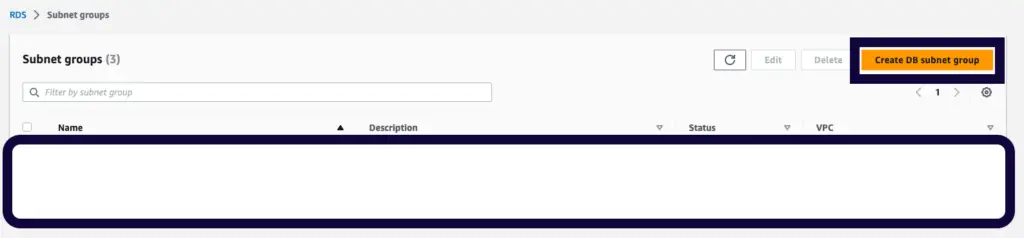
Create a DB subnet group - AWS RDS
Then You should select the correct VPC that we created in the previous article on VPC setup on AWS.
After that add the subnets from each availability zones that you have defined when creating the VPC.
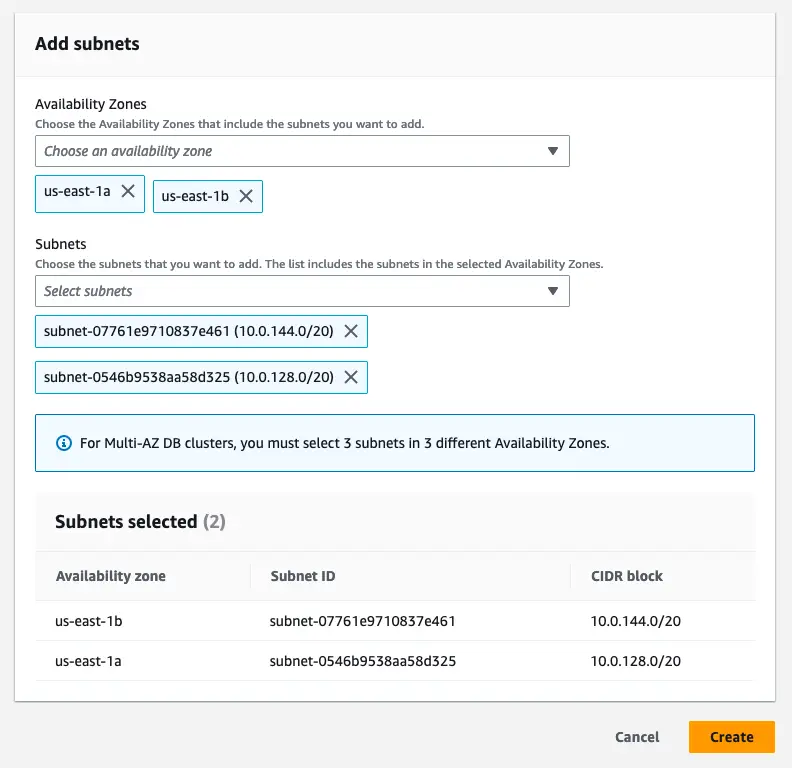
Adding subnets to the subnet group in AWS
Deploying RDS MySQL Database
Now we can proceed with RDS database deployment with the created subnet group. Navigate to the Create database and proceed with the following configurations.
-
Engine type: MySQL
-
Engine Version: MySQL 8.0.32
-
Templates: Free tier (Here we are using free tier for demonstration purposes. Feel free to use any template you like with your requirement.)
-
DB instance class: db.t3.micro
-
Storage: Keep the default values
-
Database authentication: Password authentication
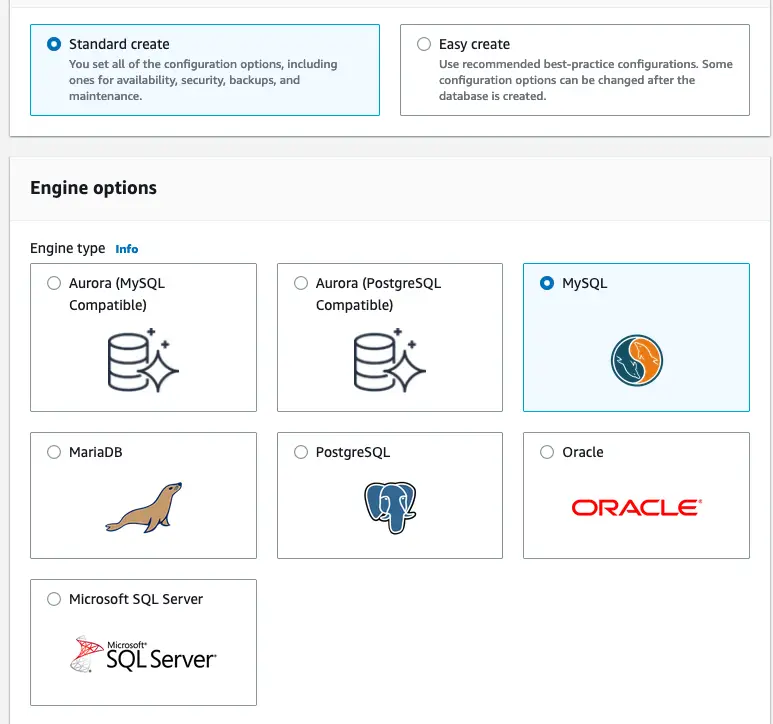
Creating MySQL database with engine selection on AWS
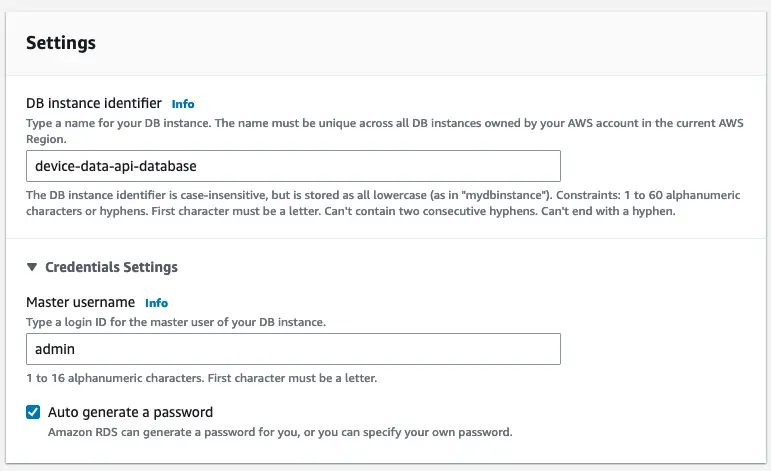
Database setting on RDS db creation
Then configure connectivity properties with the subnet group we created earlier.
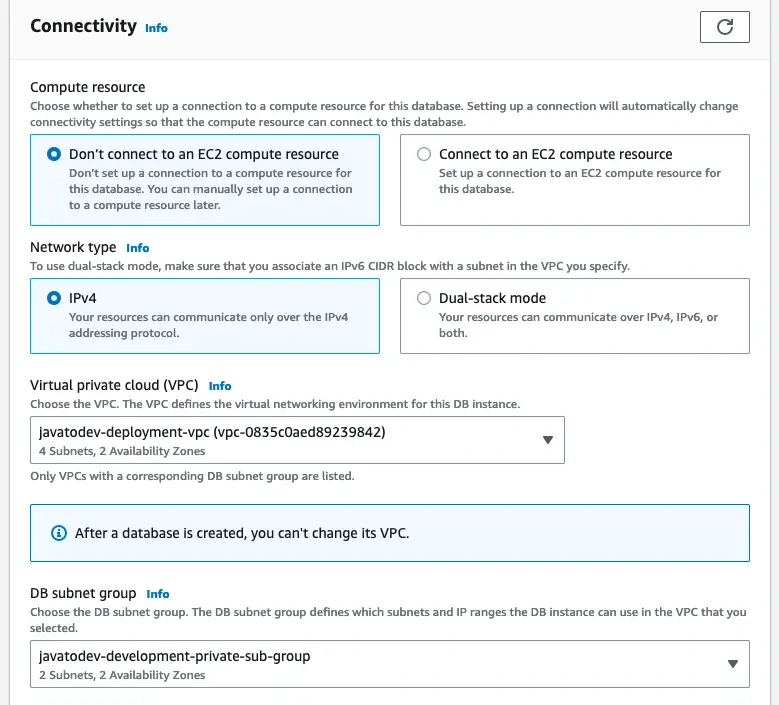
Database connectivity options for RDS database
Also, we should block public access since we should keep access only for the selected resources inside the VPC only.
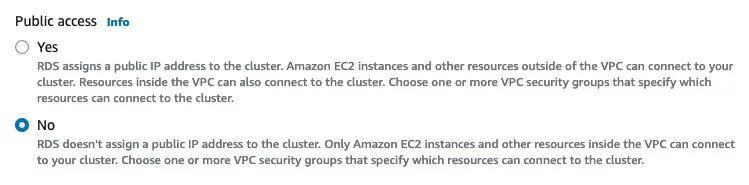
Blocking database public access RDS
Then we should set the security group which we need to create in order to manage the DB access through the application runtime environments in later stages.
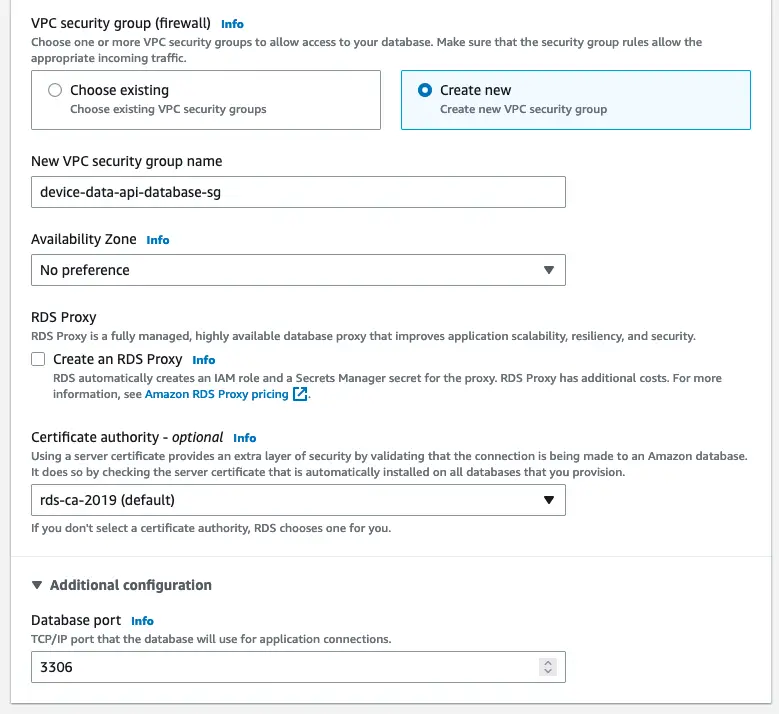
Create a new security group for the RDS database
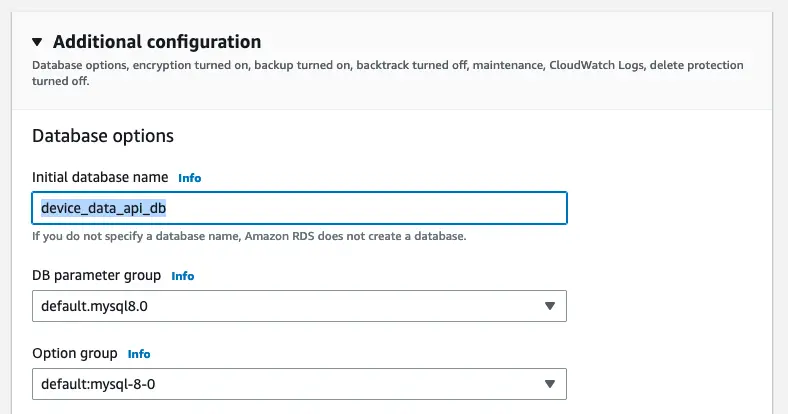
Additional configurations, Here we can create the initial database that we need to get created on RDS database creation. This is an optional thing, and we will discuss how we are going to access this database through MySQL client securely later.
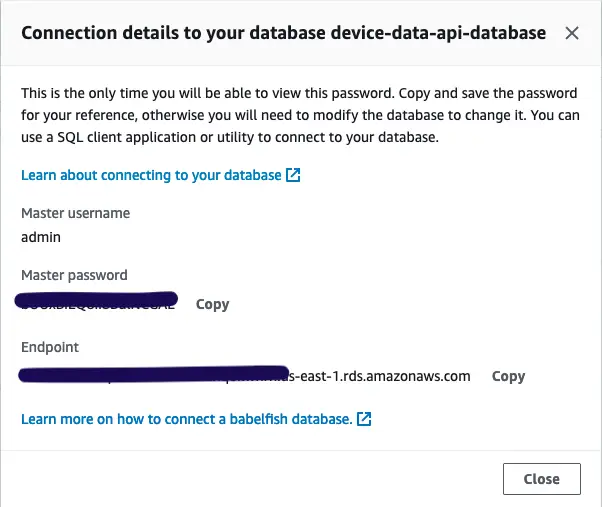
Remember to copy all the database credentials and host addresses after db creation.
We will place those under the environment variables to the ECS task definition in later stage.
Database properties on rds database creation.
Conclusion
We are done with deploying a MySQL database with Amazon RDS in this article series.
Now we can focus on creating security groups that will be used by the main components of this architecture that we are going to set up in the next articles.