Setting Up Developer Machine For This Course - Optional
-
 Chinthaka Dinadasa
 - 04 Jul, 2023
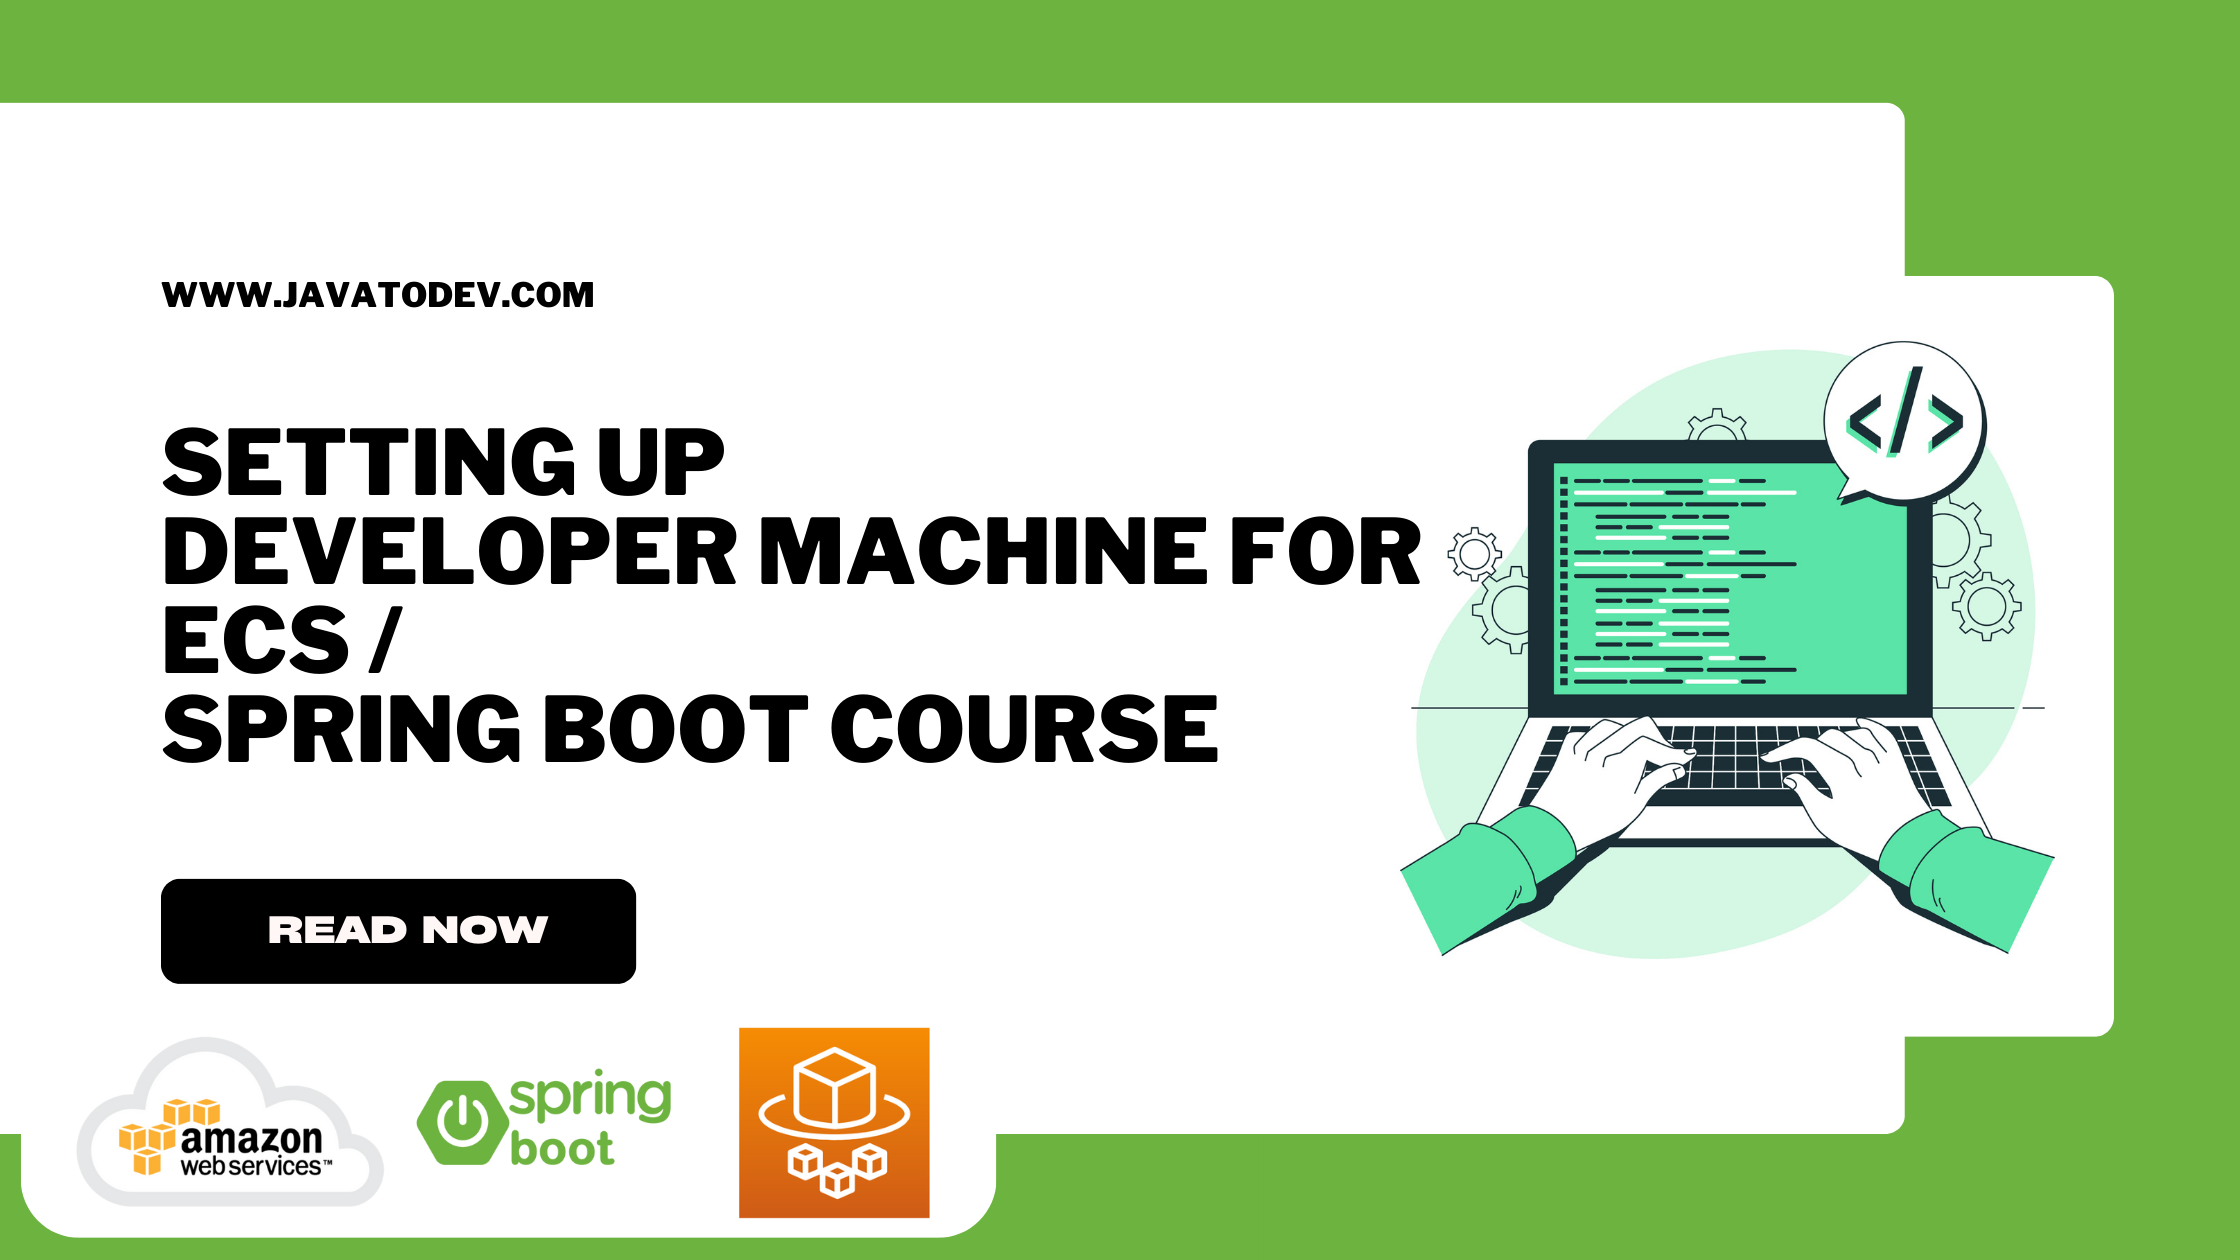
This is our guide on setting up your developer machine for the Spring Boot AWS ECS Fargate deployment course.
This article will provide easy-to-follow steps to configure your environment effectively.
Deploying Spring Boot applications on AWS ECS Fargate offers scalability and cost-efficiency.
But first, we need to ensure your developer machine is ready for the course. We’ll cover the prerequisites and guide you through setting up essential tools like JDK, Docker, and AWS CLI with AWS IAM.
By the end of this guide, you’ll have a fully functional development environment ready to create, test, and deploy Spring Boot applications on AWS ECS Fargate. Let’s start the journey toward seamless learning in cloud-native application deployment!
JDK
We are deploying this API that we have already developed with Spring boot, and It depends on JDK 17.
Hence you should have to set up JDK 17 on your developer machine to change or set up this application.
Download JDK 17 from here.
Docker
We need to install docker on our development machine since we should have to create and publish docker images on AWS ECR.
Install the latest docker version on your development machine.
AWS CLI
We need to install AWS CLI with IAM users who got the necessary permissions to follow the steps in this course.
First, install the AWS CLI as per this guide.
IAM User With Permissions
In this course, we are directly accessing and pushing images to the Amazon ECR repositories.
Hence we need to have the necessary permissions to create and publish the docker images.
Navigate to the IAM console and go to the Create User.
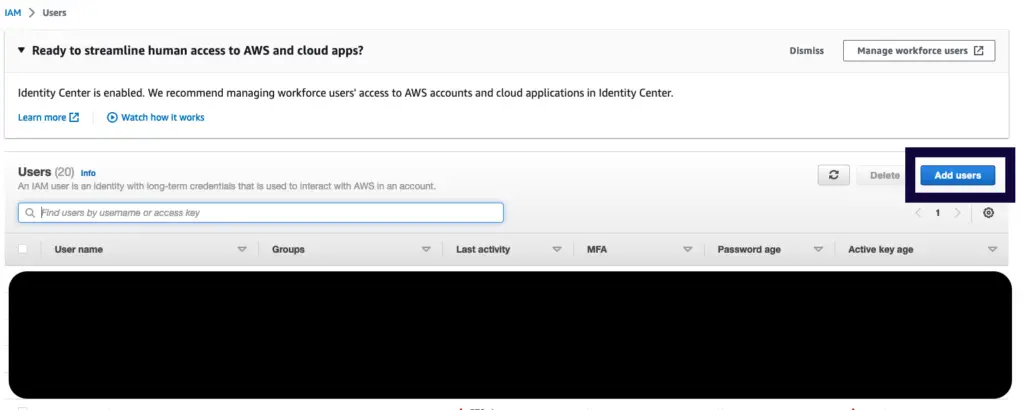
Add user from AWS IAM console
Then give a valid name to the user and optionally give access to the AWS management console.
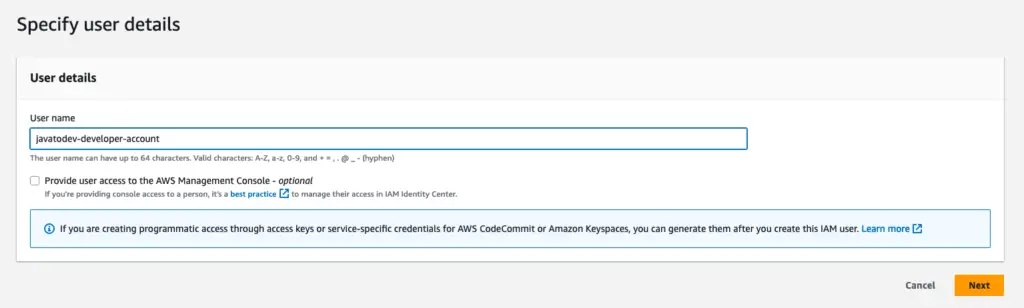
User details view for the IAM user creation
After this step, we should attach all the necessary permissions to access the products on AWS.
Here it should be ECR (Amazon Elastic Container Registry.)
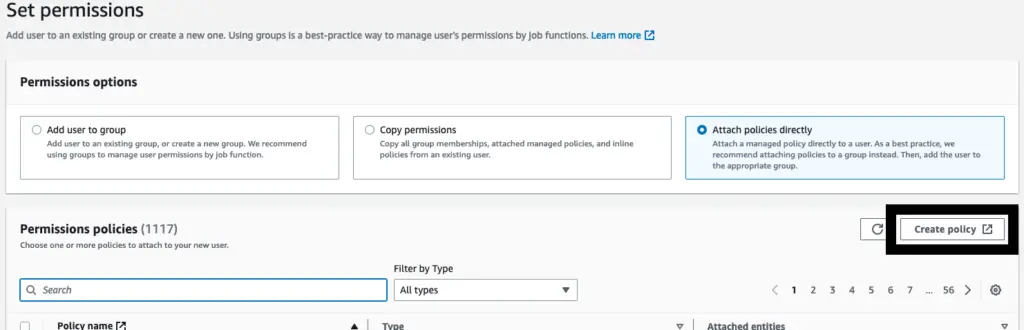
Create a Policy on the permission window for user creation
Then we should attach the following permissions, Feel free to copy this and change it to the identifier.
{
    "Version": "2012-10-17",
    "Statement": [
        {
            "Sid": "VisualEditor0",
            "Effect": "Allow",
            "Action": [
                "ecr:BatchGetImage",
                "ecr:BatchCheckLayerAvailability",
                "ecr:CompleteLayerUpload",
                "ecr:DescribeImages",
                "ecr:DescribeRepositories",
                "ecr:GetDownloadUrlForLayer",
                "ecr:InitiateLayerUpload",
                "ecr:ListImages",
                "ecr:PutImage",
                "ecr:UploadLayerPart"
            ],
            "Resource": "arn:aws:ecr:*:207119481744:repository/*"
        },
        {
            "Sid": "VisualEditor1",
            "Effect": "Allow",
            "Action": "ecr:GetAuthorizationToken",
            "Resource": "arn:aws:ecr:*:207119481744:repository/*"
        }
    ]
}
Finally, create the user with the created permission attached and go to the created users window and create an access key to use for AWS CLI setup.
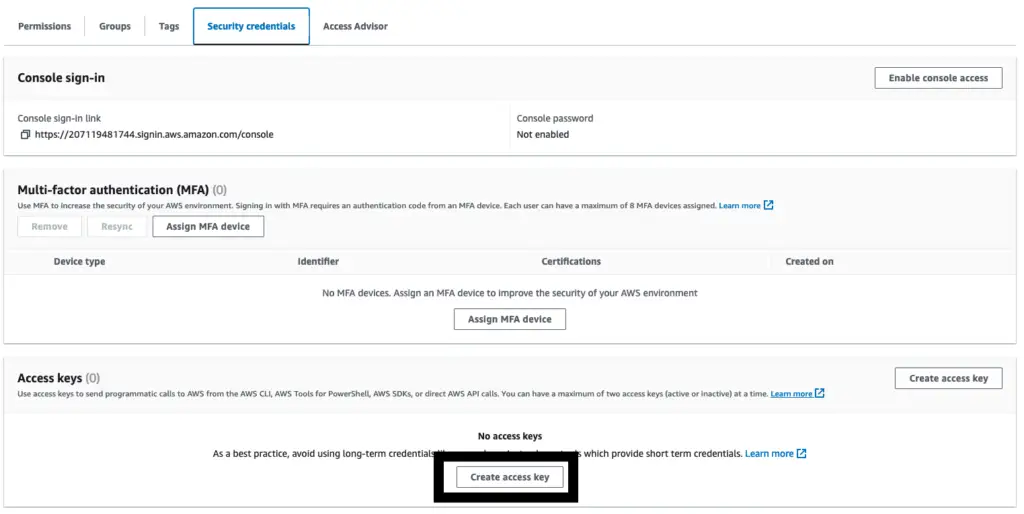
Create access key for a IAM user
Select Command Line Interface as the use case.
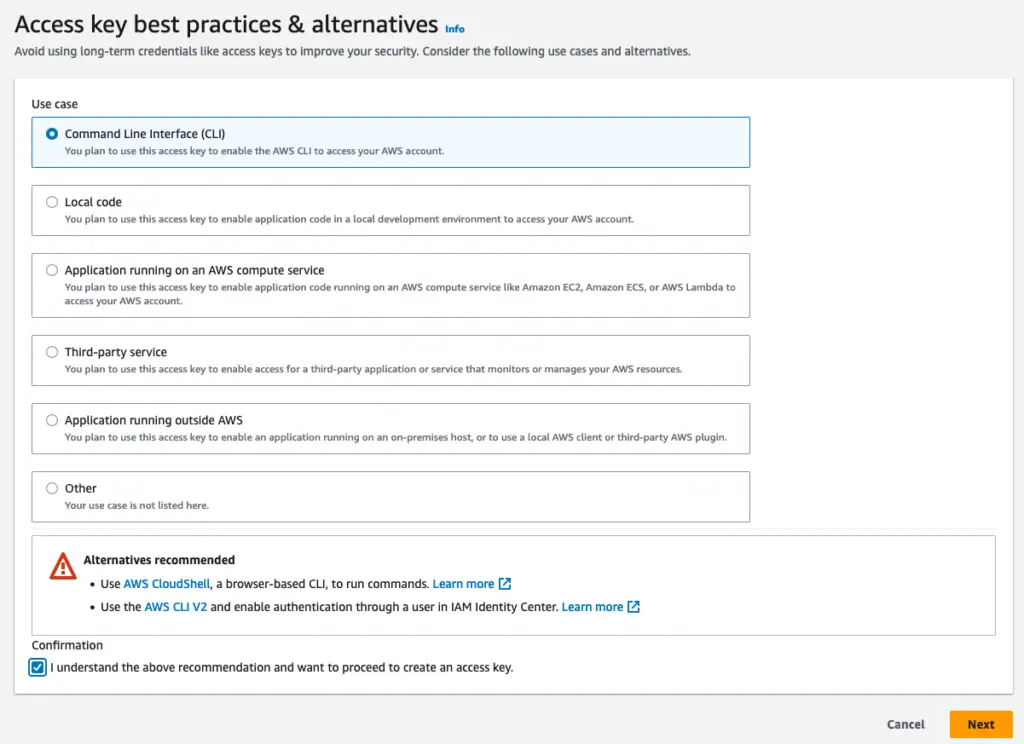
Access key use case selection
Finally, copy or download the .csv file which includes all the access keys and secret access keys that we should configure with AWS CLI.
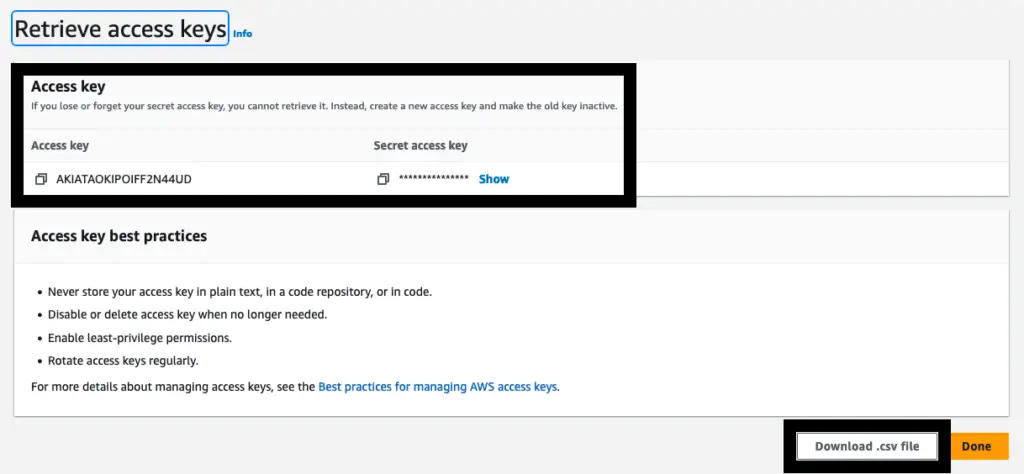
Access key retrieval window
Then configure the AWS account on your developer machine with the aws configure command on the terminal.

Setting up with AWS configure command on developer machine
In addition to that, there will be multiple services that we should access from the AWS management console in the course journey.
Better if you could create another user with the necessary permissions, especially on services like ECS, EC2, Route 53, Certificate Manager, etc.
Tip: There are predefined full access permissions that come in handy in this case, where you can attach all the permissions to a user for a specific AWS product. (This is recommended only for experimental purposes and feel free to attach only necessary permissions as we did for the above user.)
Eg:- AmazonEC2FullAccess, AmazonECS_FullAccess, AmazonRoute53FullAccess
All done, Let’s start with the first article which focuses on Setting Up AWS VPC For Fargate Deployment.