How to Dockerize Spring Boot Application
-
 Chinthaka Dinadasa
 - 30 Dec, 2020
In this article, I’ll explain how to Dockerize Spring Boot Application with practical usage.
Technologies going to use,
- Spring Boot 2.4.1
- Actuator
- Lombok
- Docker version 19.03.14, build 5eb3275d40
Up and Running Simple API
We have a simple API that has a few endpoints to demonstrate this tutorial. Please download or clone it from GitHub.
Then start the API using the following gradle command,
$ ./gradlew bootRun
Then you can validate the API using any of following URLs, Just do a curl or put one from below on you browser.
$ curl http://localhost:8080/api/v1/base
Response
{ "message": "API Running"}
$ curl http://localhost:8080/actuator/health
Response
{ status: "UP"}
All done now we have our simple API up and running without an issue. Let’s focus on writing docker related configurations for this application.
Dockerfile for Spring Boot Application
First, remove the Dockerfile in the root folder of that project. Let’s start from the beginning and understand how to write Dockerfile for spring boot application in order to Dockerize Spring Boot application.
We need to give instructions to docker how it should create the build along with the metadata it needs to have such like maintainer for this docker build and so on.
To do that, we can create a file called Dockerfile at the root of our project.
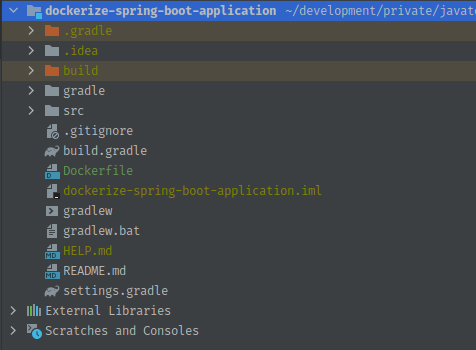
Dockerfile for Spring Boot Application
Then we can start writing the steps to follow by docker while building the docker image for this project.
Then copy and paste the following content to your Dockerfile, and if you need just change the maintainer to your email.
FROM openjdk:8-jdk-alpine
LABEL maintainer="author@javatodev.com"
VOLUME /main-app
ADD build/libs/dockerize-spring-boot-application-0.0.1-SNAPSHOT.jar app.jar
EXPOSE 8080
ENTRYPOINT ["java", "/app.jar"]
Explanation About Dockerfile
FROM openjdk:8-jdk-alpine – Let’s start with the image/environment needs to have to run this application. Here this application was developed using Java 8 and there is java 8 based alpine image which we could use here.
Alpine Linux is a Linux distribution built around musl libc and BusyBox. The image is only 5 MB in size and has access to a package repository that is much more complete than other BusyBox based images. This makes Alpine Linux a great image base for utilities and even production applications. Read more about Alpine Linux here and you can see how their mantra fits in right at home with Docker images.
So here we are using openjdk:8-jdk-alpine(openjdk 8-jdk-alpine – 105MB) the lightweight java environment to run our application. You can choose whatever the version you need from this documentation.
-
VOLUME /main-app – Here we are setting the root path for this application, so docker will use this path to run this application.
-
ADD build/libs/dockerize-spring-boot-application-0.0.1-SNAPSHOT.jar app.jar – Here it’s copying the jar file which built on this application and rename it to app.jar.
-
EXPOSE 8080 – exposing 8080 port which this application run, You can define any port here and remember to open it when run the application using docker.
-
ENTRYPOINT – In this section we are setting the commands which we needs to execute in order to run this application.
Now we are ready with building our docker image for this application. But there is one more thing that should do before build the image. So as you can see here ADD command use a jar build of this application. So first create a build for this application and then start building the docker image.
$ ./gradlew clean build
or else if you are using Maven-based project, Important: if you are using a maven project please change the build location to target/
$ mvn clean package
Now enter following command in the root folder for this project to build the docker image for our project, (Don’t forget the last . in the following command)
$ docker build -t docker-spring-application:1.0.2 .
Here It uses the built jar file previously and tags it with name as docker-spring-application and version is 1.0.2.
Output
Sending build context to Docker daemon  30.52MB
Step 1/6 : FROM openjdk:8-jdk-alpine
 ---> a3562aa0b991
Step 2/6 : LABEL maintainer="author@javatodev.com"
 ---> Using cache
 ---> 07666bf34ce4
Step 3/6 : VOLUME /main-app
 ---> Using cache
 ---> 9436bf5dadcb
Step 4/6 : ADD build/libs/dockerize-spring-boot-application-0.0.1-SNAPSHOT.jar app.jar
 ---> Using cache
 ---> 0fe04298d849
Step 5/6 : EXPOSE 8080
 ---> Using cache
 ---> e1eb8662f3c8
Step 6/6 : ENTRYPOINT ["java", "-jar","/app.jar"]
 ---> Using cache
 ---> f5740c4c1ea5
Successfully built f5740c4c1ea5
Successfully tagged docker-spring-application:1.0.0
All done now we have our docker image successfully created on local docker registry.
You can validate that image using following command,
$ docker image ls

Docker ls output
Setting Command Line Arguments To Docker Image
Let’s think you have to set the command line argument to specify the profile which runs on this docker image.
So normally we can change the profile with the following command when we run using the java -jar command.
$ java -jar -Dspring.profiles.active=prod dockerize-spring-boot-application-0.0.1-SNAPSHOT.jar
So we can set these arguments with that ENTRYPOINT argument we set in Dockerfile as below.
FROM openjdk:8-jdk-alpine
LABEL maintainer="author@javatodev.com"
VOLUME /main-app
ADD build/libs/dockerize-spring-boot-application-0.0.1-SNAPSHOT.jar app.jar
EXPOSE 8080
ENTRYPOINT ["java", "-Dspring.profiles.active=prod", "/app.jar"]
Running a Docker Image
Now we have successfully created the docker image which needs to have with our application. Now let’s focus on how we can run this created image.
Here we need to have the IMAGE ID for that specific image that we created. So you can find it with the IMAGE ID column of docker image ls command results.
Then issue the following command to run the application by exposing 8080 port to the access outside from the docker container.
$ docker run -p 8080:8080 223e328fe3f3
Output
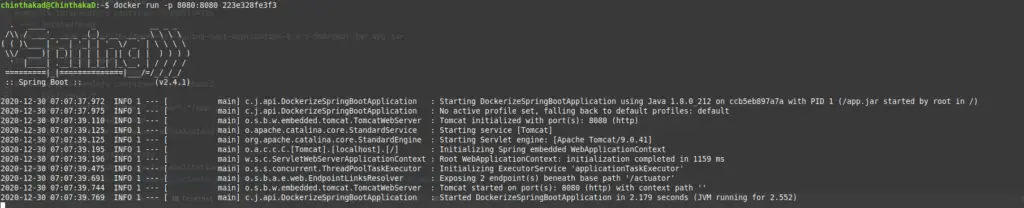
Output after running the application
Now your application is running on a docker container and you can access the application using http://localhost:8080 URL. If you need to terminate the application use ctrl+c to stop it.
Run Docker Container In Background
use following command to run a docker container in background. Docker will return a Unique ID to that specific process, You can use that ID to manage that docker container.
$ docker run -p 8080:8080 -d 223e328fe3f3
$ 95d16c2a2d7b8629834b4ce11c1484ef969c8e714a1c929fd30ac4645cd301c4
Or else just execute the following command, then it will return all the running docker containers, and you can read whatever the docker container ID from that list.
$ docker ps --all

docker ps –all result list
Tail Logs of Docker Container After Running in Background
When you run docker container in the background docker will put it to a background process and return a docker process ID. You can use it or the CONTAINER ID or Name from docker ps –all to capture all the logs related to that specific contatiner.
$ docker logs -f 95d16c2a2d7b
or else use the process ID returned from docker run
$ docker logs -f 95d16c2a2d7b8629834b4ce11c1484ef969c8e714a1c929fd30ac4645cd301c4

tail docker logs output
Publishing Docker Image To Docker Hub
Now your application code has been published as a docker image on your local machine, So what if there is a requirement on deploying this same docker image on a server, or else deploy the same app on another machine?
In this case, you can use docker hub which is a simply a docker registry where you can publish any of your local docker images and use it anywhere you need. Docker hub has paid and free subscriptions, There will be only one private repository you can manage with a free version, But here you can try this with free version since we are using the public repository for this tutorial.
First, go to https://hub.docker.com and create a free account and then create a new repository using the following URL.
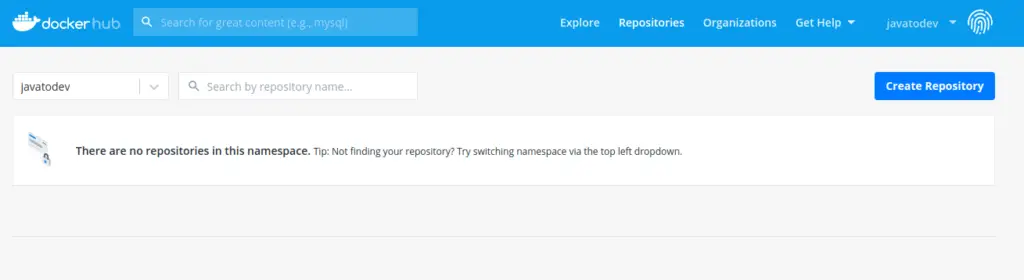
Docker Hub Dashboard to Create a Repository - Dockerize Spring Boot Application
Then enter a project name and use a public repositry and create a new repository for our project.
for my project, I’ve created a repository with naming it as docker-spring-application. then the project URL will be like ‘javatodev/docker-spring-application‘
Now we need to create a local image with naming it as ‘javatodev/docker-spring-application:tagname’ because when we try to push docker will look at the same name on local docker environment.
Let’s create our local docker image with giving proper naming,
$ docker build -t javatodev/docker-spring-application:1.0.0 .
then we should login to the docker hub with our local terminal,
$ docker login
Then enter the username and password which you have used for https://hub.docker.com/.
After that do the push into docker hub with following command.
$ docker push javatodev/docker-spring-application:1.0.0
sample output

Docker push command result in terminal
Done now your docker image should be present on Docker Hub
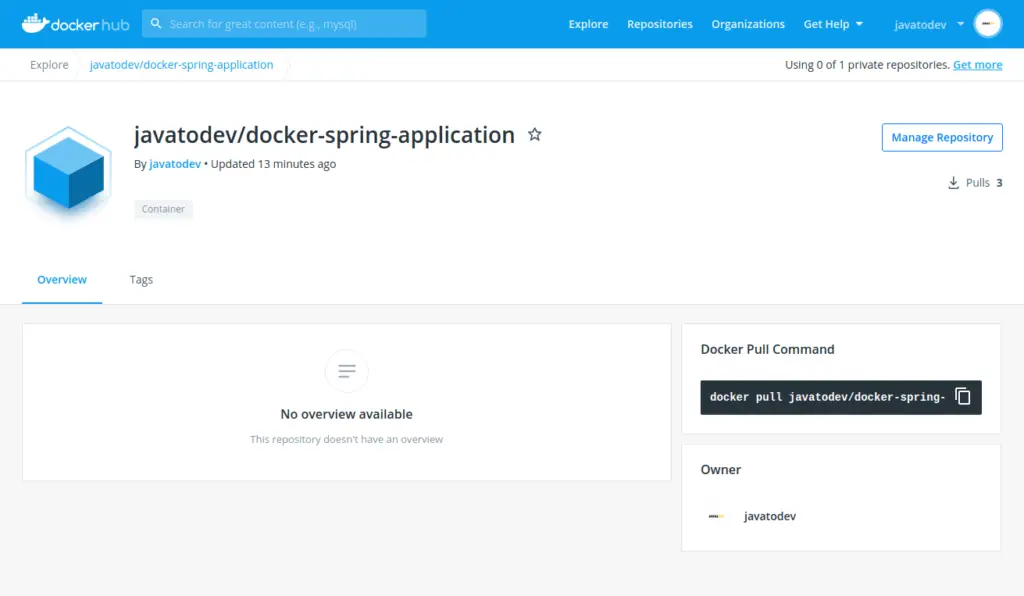
Docker Hub Dashboard
and you can use that same image wherever you need with the following command,
$ docker pull javatodev/docker-spring-application:1.0.0
Conclusion
Thanks for reading our latest article on Dockerize Spring Boot Application with practical usage. Hope you got a good understanding of how we can use docker with spring boot application development and deployment.
If you are looking for spring boot practical application development tutorials, just check our article series and comment on whatever new things you need to see on our website.
Related articles,